So, you are isolating at home and would like to make a mother’s day gift right?
How about some simple paper flowers? It’s all in those tiny little hands.
I have created 3 activities suitable for families who have absolutely NO craft gear at home. For those who have, then that’s great. I promise, they all need very little skill. Just a little preparation is the key. Up skill the creativity so that you, the adult you can create along side too. It should be a fun activity for all ages. If you make many then there you will have a beautiful bunch of flowers!


Activity 1.
You will need:
Scissors
Paper/newspaper/ magazine
Glue sticks, PVA. I have instructions how to make glue if you don’t.
Sticks/straws
Colouring pencils, felt tips, crayons
Take some paper, newspaper or a magazine. cut into half so as to get a strip, landscape will be best. decorate the newspaper or paper with your coloured pencils. If you are using a magazine the gloss pages will be hard to colour. Collage with other paper and glue. There’s no right or wrong, just fun at this stage.
Draw around the hands of child on the reverse of your decorated newspaper/paper/ magazine. Then cut them out. Tip, if hand is drawn once at far end of strip, fold the newspaper, or concertina to get a few hands at one time.
Glue or tape the hands to a stick or straw as I have in the picture above. Embellish with a paper leaf. This could be made into a mother’s day card.


cut out all of the hands you need for your card.
Activity 2.
I love the fact that the little hands make a beautiful 3d flower. Kind of poetic.
You will need:
Scissors
Glue. Pritt stick, PVA or Homemade
Pencils/crayons/felt tips/collage paper
sellotape or masking tape
straw or stick
Make your hands as in the method above in Activity 1. As many as you like. ( you will need at least 3 hands to make one flower. Be creative with your collage materials if that’s what you enjoy the most.
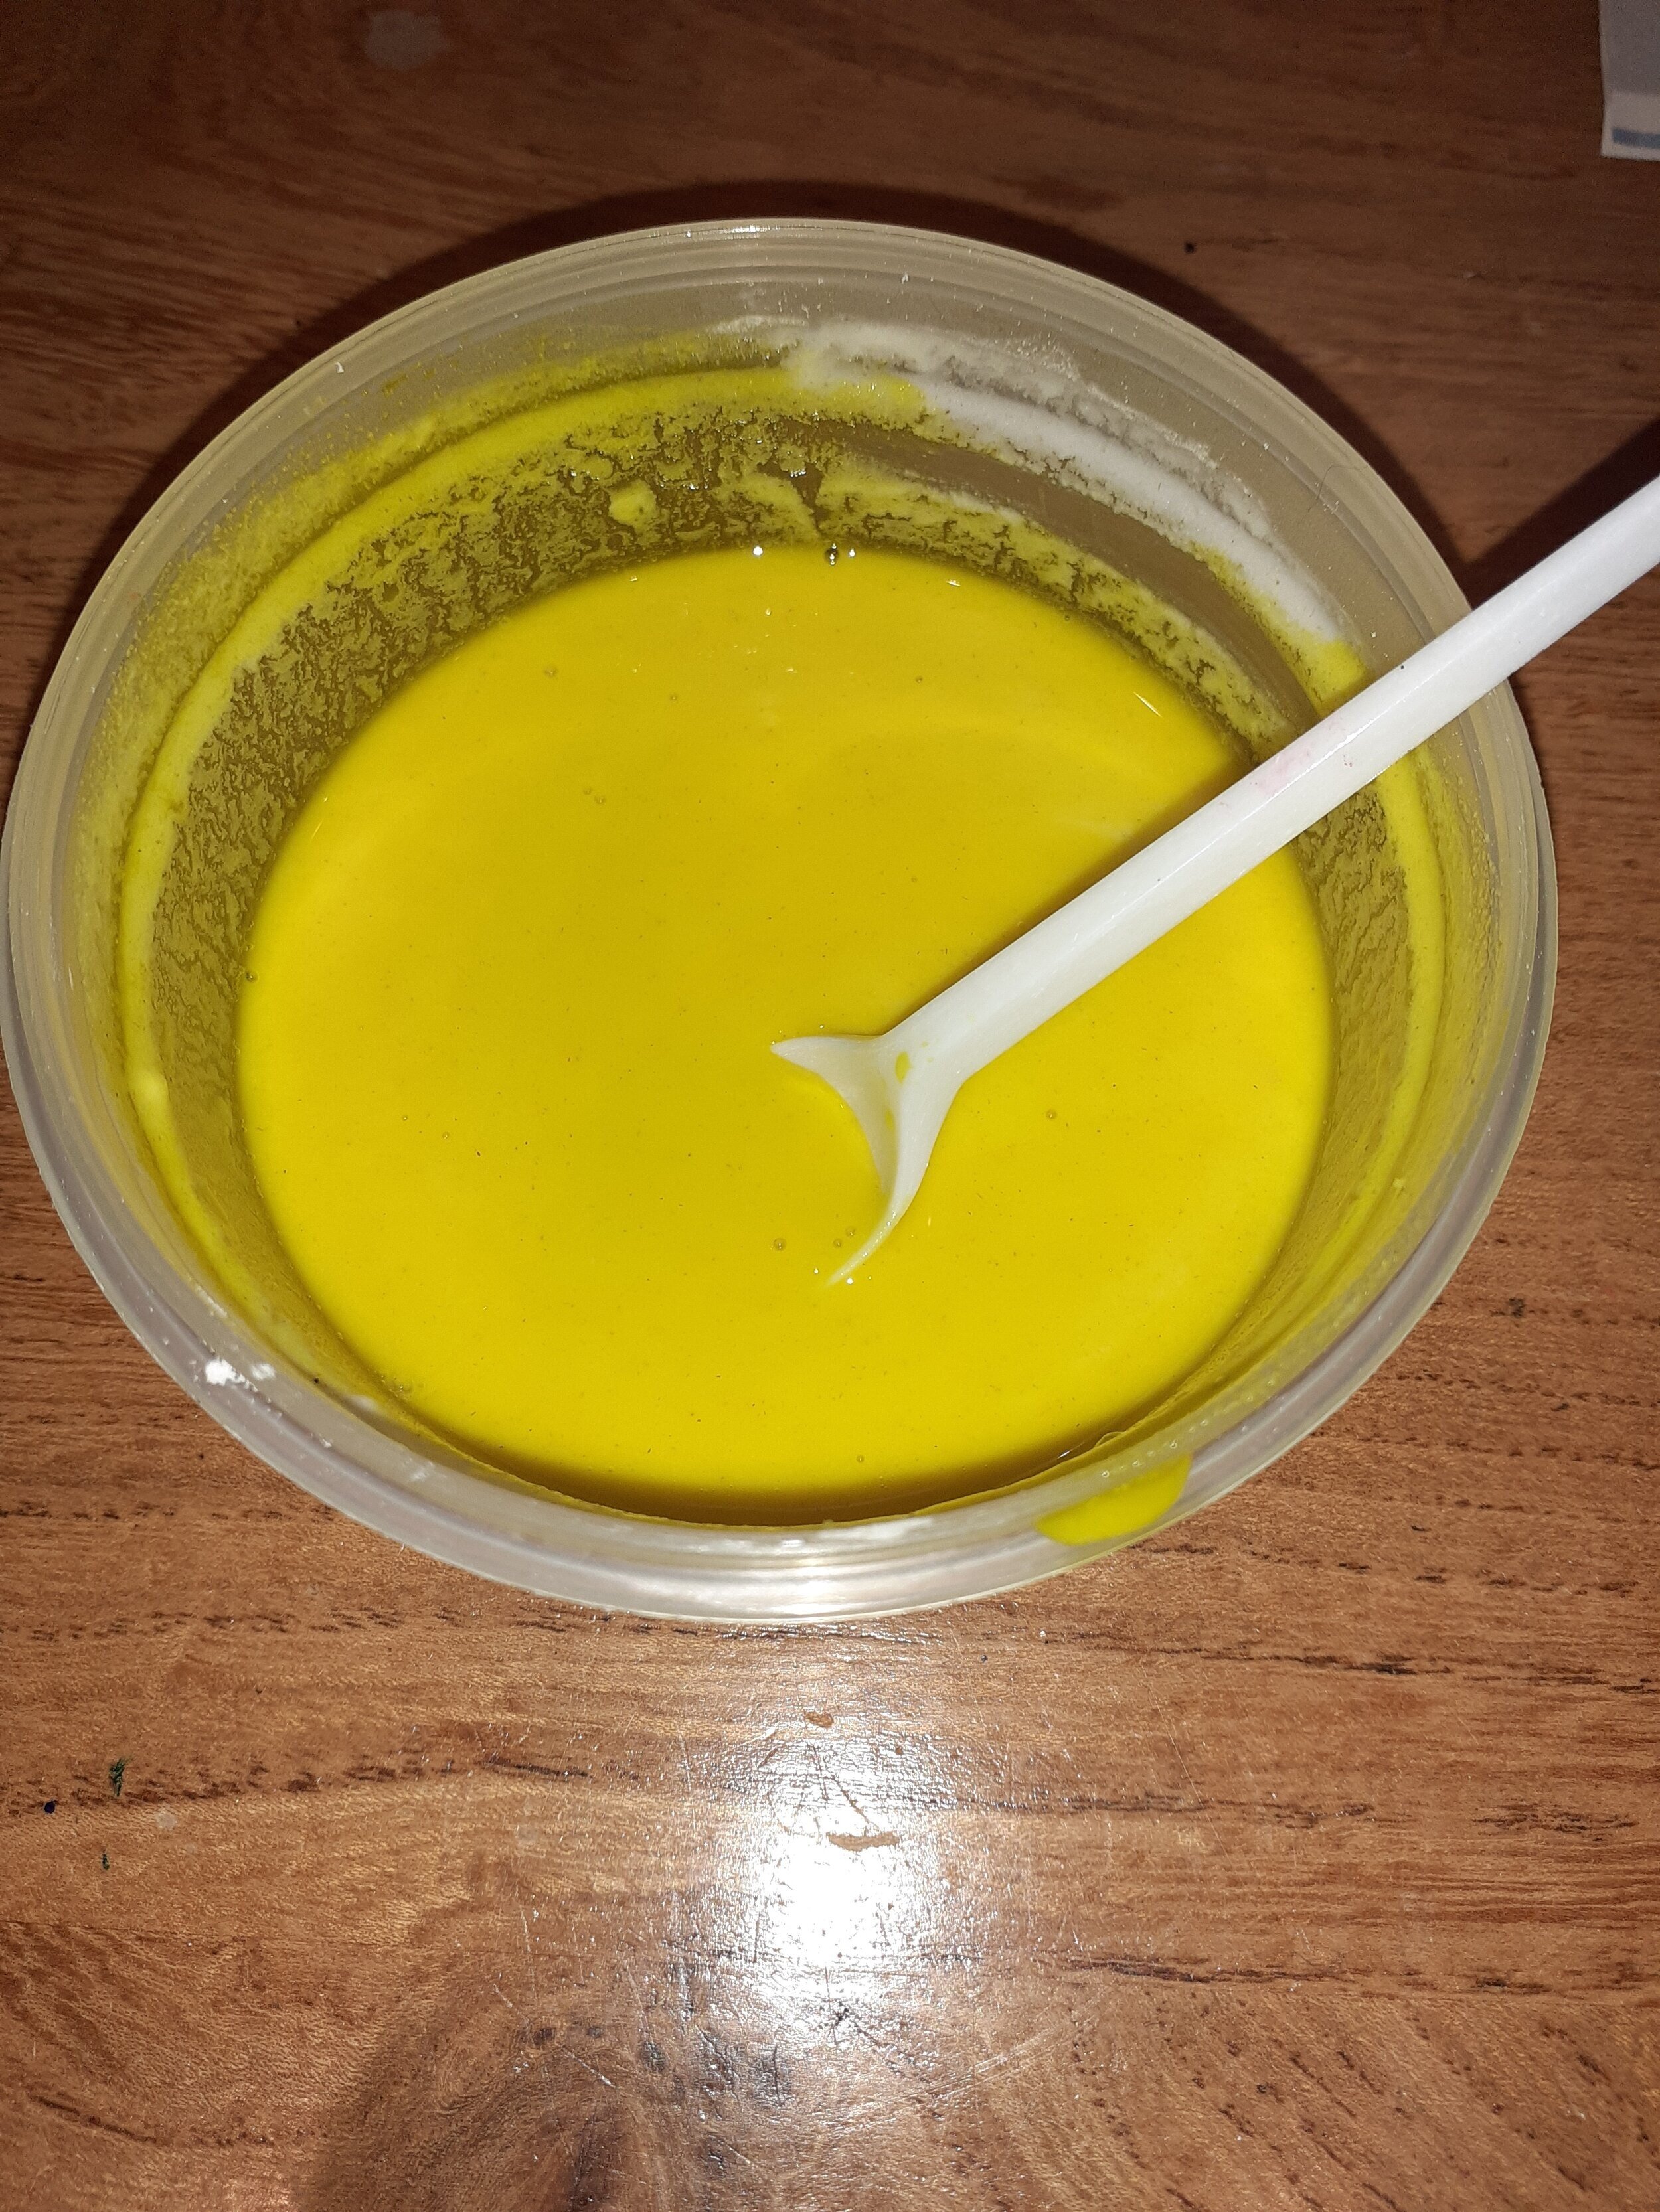
to make your glue. Mix flour and water together. Make a thin cream consistency. You can add food colouring for pizzazz. see images below.
If you finger paint the glue onto your paper/newspaper/magazine then you could stick more colours onto it. I ripped up pink adverts from a magazine and put it on top of the yellow glue.
The glue will take some time to dry. About an hour or so. Then after you can draw and cut around the hands.

Set out all your hands in sets of three to start putting them together. see pics below.
Glue in the palm of each hand to fit together in a triangular configuration. You could stick them together in sets of 4 too.


Secure the back of each flower with tape so that the shape holds. Then secure each flower head to a straw, or stick with tape. I think they look like crocuses or daffodils.
Activity 3
You will need:
Paper cup
Paper/newspaper/magazine/ paint
Glue
Scissors
(Not essential) A whole punch, or cut out your own circles.
Get your collage materials together and ready. I chose a colour for the petals of the flower and scoured the newspapers and magazines for the colour and ripped it into little pieces. set them aside.
I had blue fabric and ripped that up to use for the centre of the flower or daisy. Set them aside ready
That part of the prep can be shared with your little one if you wish. If they are young I suggest you have everything ready to go.
make your glue if you need.
Take your paper cup and cover the inside with glue, or paint.
Throw in the coloured paper ( easy if its coloured paper or, place the right coloured side of your ripped pieces to the inside of the cup).
If you wish paint or collage the outside of the cup. I covered my cup with the coloured homemade glue.
Cut the cup with several slits from the rim to 3 cm away from the base of the cup. Now is a good time to shape the petals out. I curled them back on themselves. You can cut the petals into spear shapes, slightly crease them in the centre of each sepal.


To make the centre i screwed up all my left over paper in my fist to make a ball.
The centre can be covered in anything, its up to you but i used an old piece of blue cotton fabric and shred it into pieces.I thought seeds might look quite good.
This the fun bit, I rolled the ball in the glue, then rolled the ball in the blue fabric. It was still sticky enough to be placed into the base of the cup. making it the centre of the Daisy.
Leave everything to dry.
Once all is dry. I left it over night, but it could possibly dry within the hour. i hole punched orange paper ( a post it note actually) and left it aside. ready to decorate on top of the blue centre.
I covered the centre with glue. Then slam dunked it into the confetti of orange circles.
You can mount the daisy onto a stick or rolled tube of card.

Thats the daisy almost done!
I hope these flowers are a real treat on Mother’s day. Have a wonderful day. Stay safe . Will be keeping touch with more activities.
I hope to put on the photos of all the flowers made at Creative kids @WMGallery last month so you can see how much creativity and different ways of making that little ones can do with the help of their carer.